In the vibrant world of print-on-demand, the difference between a mediocre product and a stunning one often comes down to image quality. Imagine holding in your hands a beautifully printed t-shirt or art piece that captures every detail, color, and nuance of your original design—this is the magic of resizing images effectively on platforms like Printify. But how do you ensure that your images not only fit perfectly but also retain their visual impact across various products?
Whether you're an established designer or just dipping your toes into custom merchandise creation, mastering image resizing can elevate your brand and captivate potential customers. In this comprehensive guide, we’ll walk you through everything you need to know about resizing images on Printify—from understanding optimal dimensions for different products to practical tips for maintaining quality during the process. Say goodbye to pixelated prints and hello to stunning designs that truly stand out in the marketplace! Let’s dive in and unlock the secrets to creating eye-catching visuals that leave a lasting impression.
Importance of Proper Image Dimensions
Proper image dimensions are crucial not only for the aesthetic appeal of your products but also for ensuring they meet printing standards. When images are resized improperly, they can become pixelated or distorted, leading to a final product that fails to capture the quality you envision. This is especially true in an age where consumers increasingly seek high-quality visuals; it can make or break their perception of your brand. Utilizing the correct dimensions from the start sets the foundation for a professional appearance and instills trust in potential customers.
Moreover, considering image dimensions helps optimize production speed and reduce costs. Images that match Printify’s recommended specifications minimize the risk of delays due to rework or adjustments, allowing your designs to move from concept to finished product without unnecessary hiccups. This efficiency translates into a better overall experience—not just for you as a seller but also for your customers who anticipate timely deliveries. By prioritizing proper image sizes, you're investing in both quality and operational efficiency, positioning yourself ahead of competitors who might overlook this vital aspect.
 Supported File Types for Uploading Images
When uploading images to Printify, it’s essential to understand not only the resizing options but also the supported file types. Printify accommodates various formats, including PNG, JPEG, and TIFF, each bringing its unique strengths to your design projects. PNG files are particularly favored for their ability to maintain high quality with transparency—ideal for intricate designs that require a seamless blend or layered effects. On the other hand, JPEGs are typically used when you need smaller file sizes without compromising too much on visual fidelity; they’re perfect for photographs or less complex graphics where subtlety matters more than crisp edges.
It's worth noting that while these formats serve different purposes well, users should be cautious about color profiles and compression settings. For instance, using RGB color space ensures vibrant colors suited for digital displays and printing alike. Additionally, a careful management of image quality during compression—balancing size against clarity—ensures your artwork retains its punchy aesthetics without overloading upload limits. By taking the time to choose the right file type and optimizing your images appropriately before uploading them to Printify, you can elevate your creations from mere ideas into striking products ready to captivate customers' imaginations.
Recommended Image Sizes for Different Products
When it comes to showcasing your products on Printify, understanding recommended image sizes is crucial for achieving vibrant, high-quality prints. Each product type has its own specific dimensions that can significantly impact the final output. For instance, apparel items like T-shirts often require a resolution of at least 150 DPI (dots per inch) with images sized around 4500 x 5400 pixels for optimal clarity. Conversely, products like mugs and phone cases may only need images of 1200 x 1600 pixels at the same DPI to maintain sharpness while conforming to their design constraints.
Beyond just pixel dimensions, consider the aspect ratio that best complements your product’s shape and style. Square images may work well for some designs but can disrupt the flow for others; knowing when to utilize portrait or landscape orientations can enhance overall aesthetic appeal. Additionally, experimenting with color profiles—such as RGB versus CMYK—can influence how colors display once printed; always preview before hitting “print” to visualize any discrepancies in vibrancy or hue shifts. By meticulously adhering to these guidelines and exploring creative possibilities within set parameters, you’ll craft eye-catching visuals that elevate your products and resonate more deeply with customers.
 How to Resize Images Using Printify Tools
Resizing images in Printify is an intuitive process that not only enhances your designs but ensures they meet the specifications for various products. With Printify's built-in tools, you can easily adjust dimensions to fit perfectly on anything from apparel to home decor. Begin by selecting your product and uploading your image, then utilize the drag-and-drop feature to tweak the placement as needed. The platform also provides guidelines that help you understand optimal sizes, ensuring your designs look professional without pixelation or distortion.
However, beyond just resizing, consider leveraging the aspect ratio tools available within Printify. Maintaining the integrity of your design while fitting different formats can elevate your overall brand aesthetic and ensure consistency across multiple items. Take a moment to experiment with zooming in or cropping specific elements of your design; this can lead to captivating iterations you might not have initially envisioned. Remember, effective resizing isn't just about fitting an image into a space—it's about making it resonate with potential customers through visual appeal and deliberate composition.
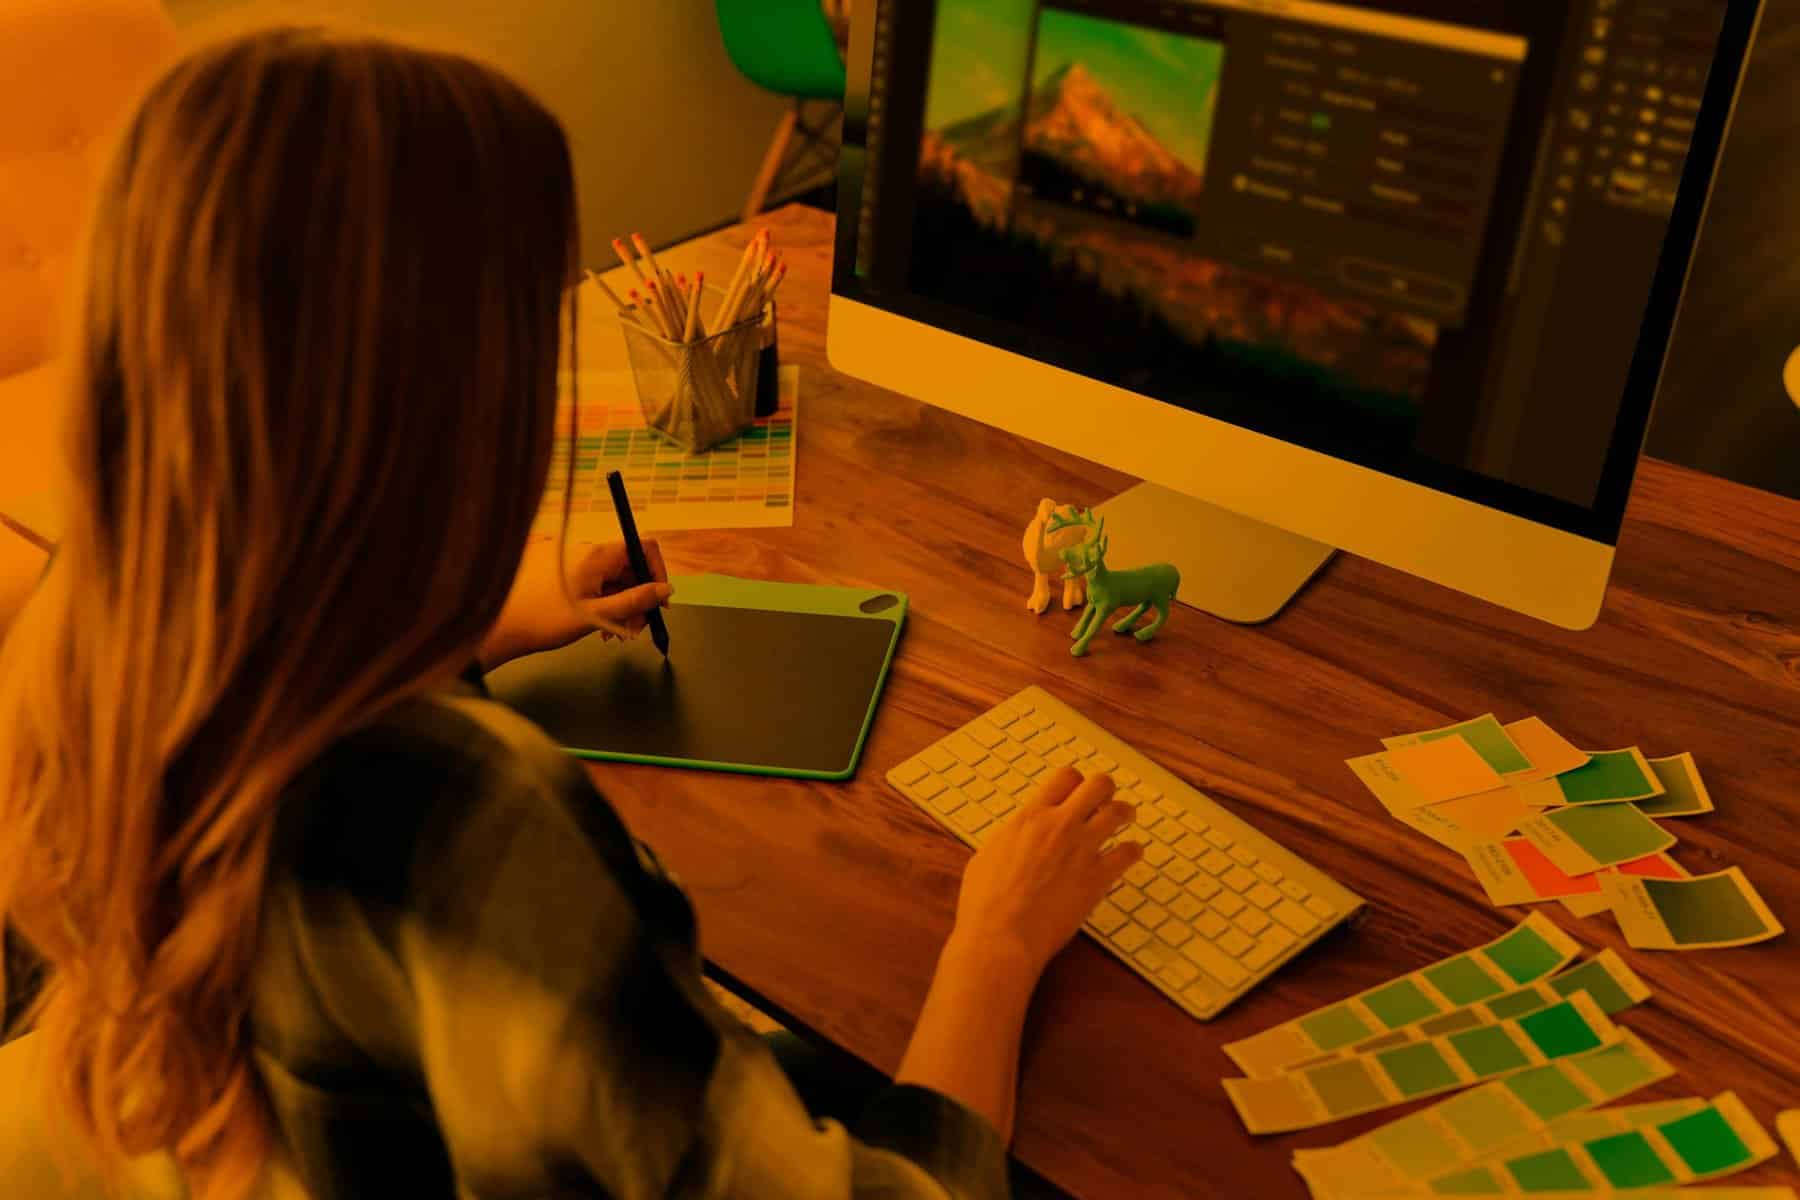
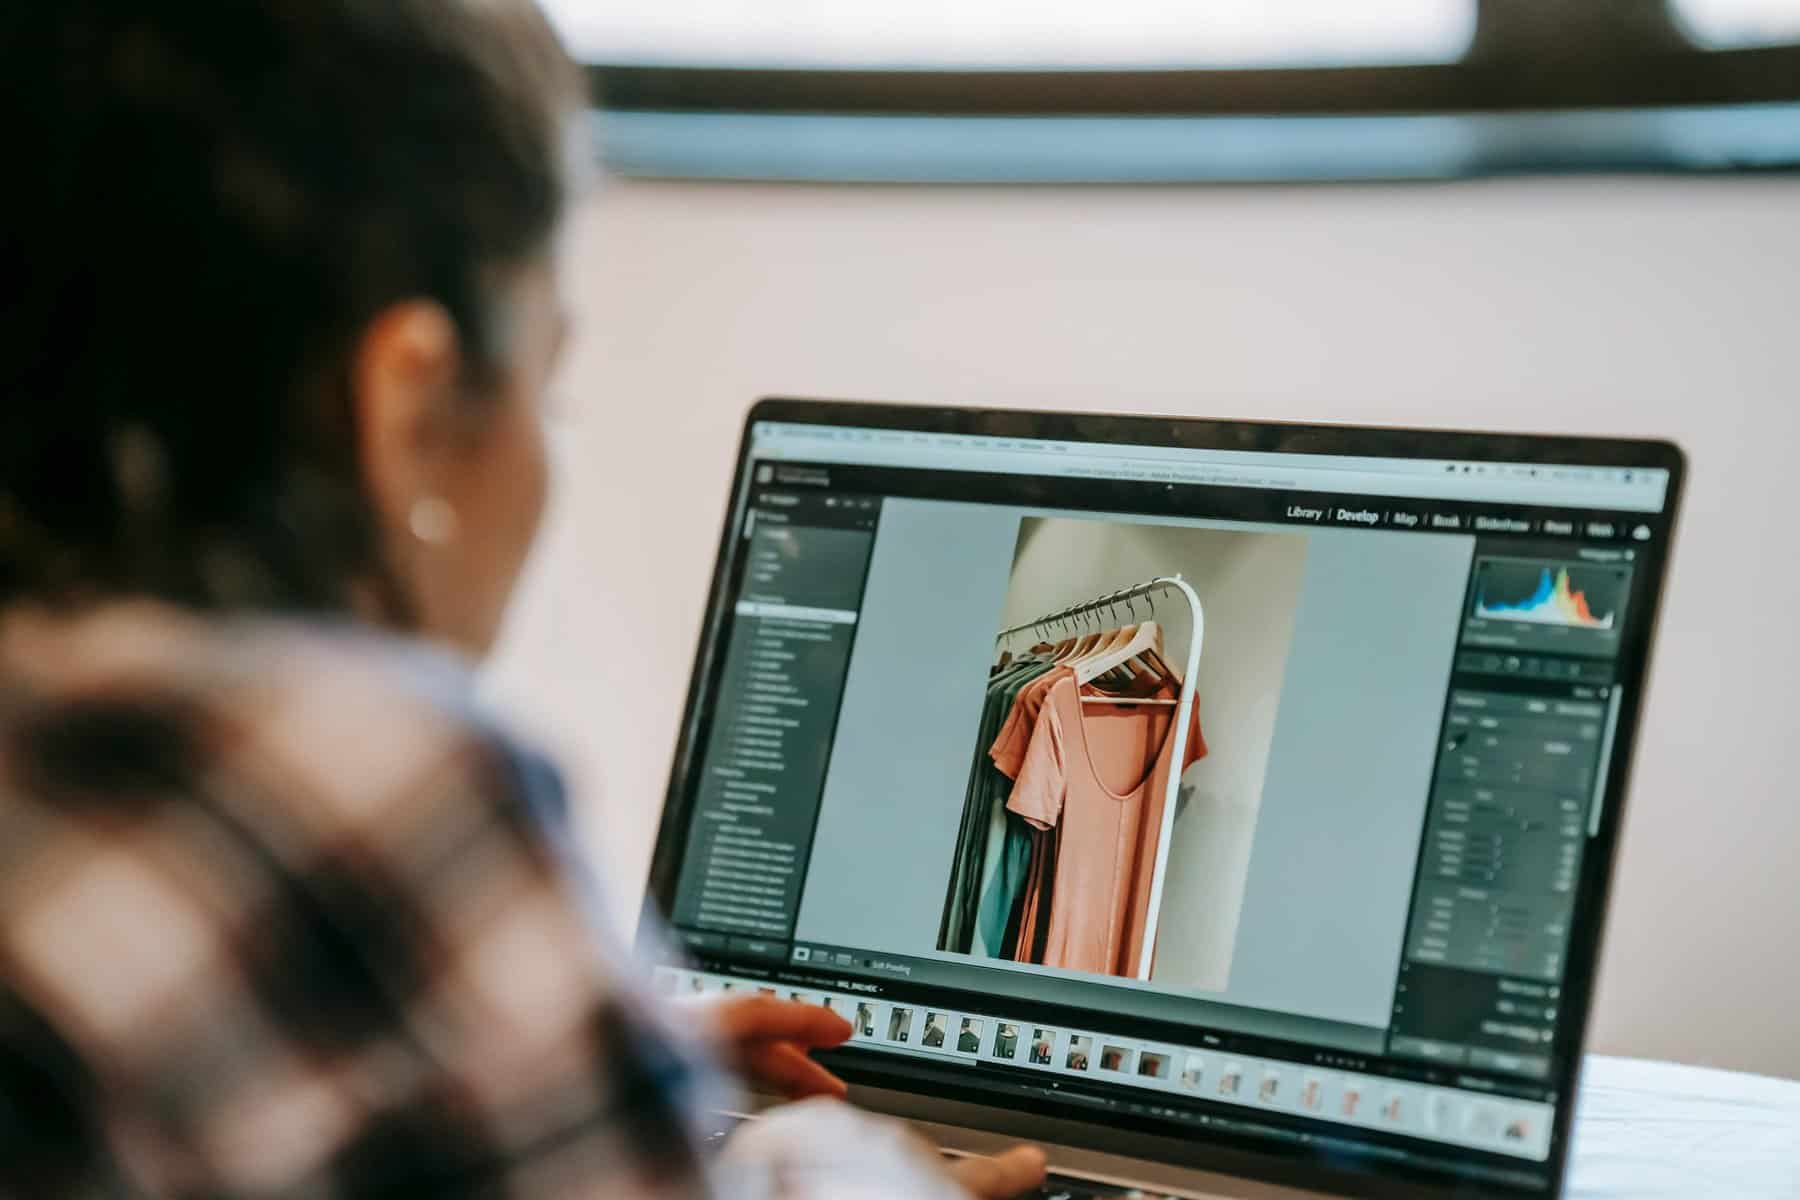
Utilizing External Software for Image Resizing
When it comes to image resizing, external software can be a game-changer, offering advanced features that go beyond simple resizing tools. Programs like Adobe Photoshop or GIMP not only allow you to adjust the dimensions of your images but also give you full control over resolution, aspect ratios, and image quality. This is particularly beneficial for print products where clarity and precision are paramount; an optimized image can significantly elevate the end product's professionalism.
Moreover, utilizing batch processing capabilities in these programs can save you a tremendous amount of time—imagine resizing hundreds of images with just a few clicks instead of manually adjusting each one. Cloud-based platforms such as Canva or Pixlr also bring flexibility into the mix by allowing users to quickly edit images from any device without needing powerful hardware. By leveraging these tools effectively, you can ensure your designs meet Printify’s requirements while still retaining vibrant colors and sharp details—essential elements that catch the eye in any marketplace.
 Tips for Maintaining Image Quality During Resize
When resizing images for print, it’s crucial to strike a balance between dimensions and quality. One effective technique is using lossless image formats like PNG or TIFF before you begin the resizing process. These formats retain pixel data better than standard JPEGs, which lose information during compression. Imagine attempting to build a sturdy structure with subpar materials; your image deserves nothing less than the best resources for optimal clarity!
Another secret lies in maintaining the original resolution of your files. Targeting a resolution of at least 300 DPI (dots per inch) ensures that your resized images remain crisp and detailed when printed. Additionally, consider adjusting sizes proportionally to prevent distortion; this approach preserves the aspect ratio and keeps everything looking balanced. By employing editing tools with interpolation algorithms designed for enlargement—such as Bicubic Smoother—you can significantly enhance visual results even as you expand your canvas.
Finally, always preview your resized images in various formats before finalizing them on Printify. This step not only allows you to catch any potential issues but also gives you insight into how different color profiles translate across media types. By incorporating these techniques into your workflow, you'll maintain high-quality imagery that does justice to both your creative vision and intended products!
Conclusion: Mastering Image Resizing on Printify
Mastering image resizing on Printify is not just about following technical guidelines; it’s about harnessing creativity and ensuring your designs shine in the marketplace. By understanding the specific dimensions required for each product, you can elevate your designs from mediocre to mesmerizing. Experimenting with various sizes allows for dynamic compositions that capture attention, ultimately enhancing the customer experience. Remember, a well-optimized image not only impresses visually but also entices clicks and conversions.
In addition to adhering to size requirements, consider how different resolutions impact your artwork's quality across diverse products. Higher dpi settings can enhance detail in items like posters or canvas prints, while lighter resolutions may suit apparel better where flexibility is key. Don’t hesitate to utilize Printify's mockup generator; it's an invaluable tool that previews how your resized images translate onto actual products. Embrace this opportunity to fine-tune every aspect of your work—great design thrives on experimentation! Ultimately, mastering these fundamentals empowers you to create stunning visuals that resonate with customers and stand out in an increasingly competitive market.


