
Hosting a WordPress site might sound laborious, especially if you are a beginner. Honestly, there’s a lot involved. Besides, most guides on the internet have redundant and expendable content that can discourage you even further. You might easily find yourself giving up on your dream.
However, setting up hosting for a WordPress website is actually easier than it seems. In this guide, we’ll show you how to go about it hassle-free by following a few steps.
1. Choose a domain name
Even before you start preparing to take your site online, you need to choose a domain name. The domain name is an indispensable aspect as it addresses your site.


You can choose to use the company/business name suffixed by the domain extension, such as .com. Some registers allow you to purchase a package of hosting + domain name at the same time.
2. Get web hosting
The next step is to get hosting for your website. Fortunately, there are several types of hosting options to choose from. If your website is new, shared hosting will suffice. As your traffic increases, you might need to switch to a different hosting plan. As for the hosting provider, there are many options available, and therefore you need to explore them and choose carefully.
3. Install WordPress
With a domain and hosting space, it’s now time to install WordPress.
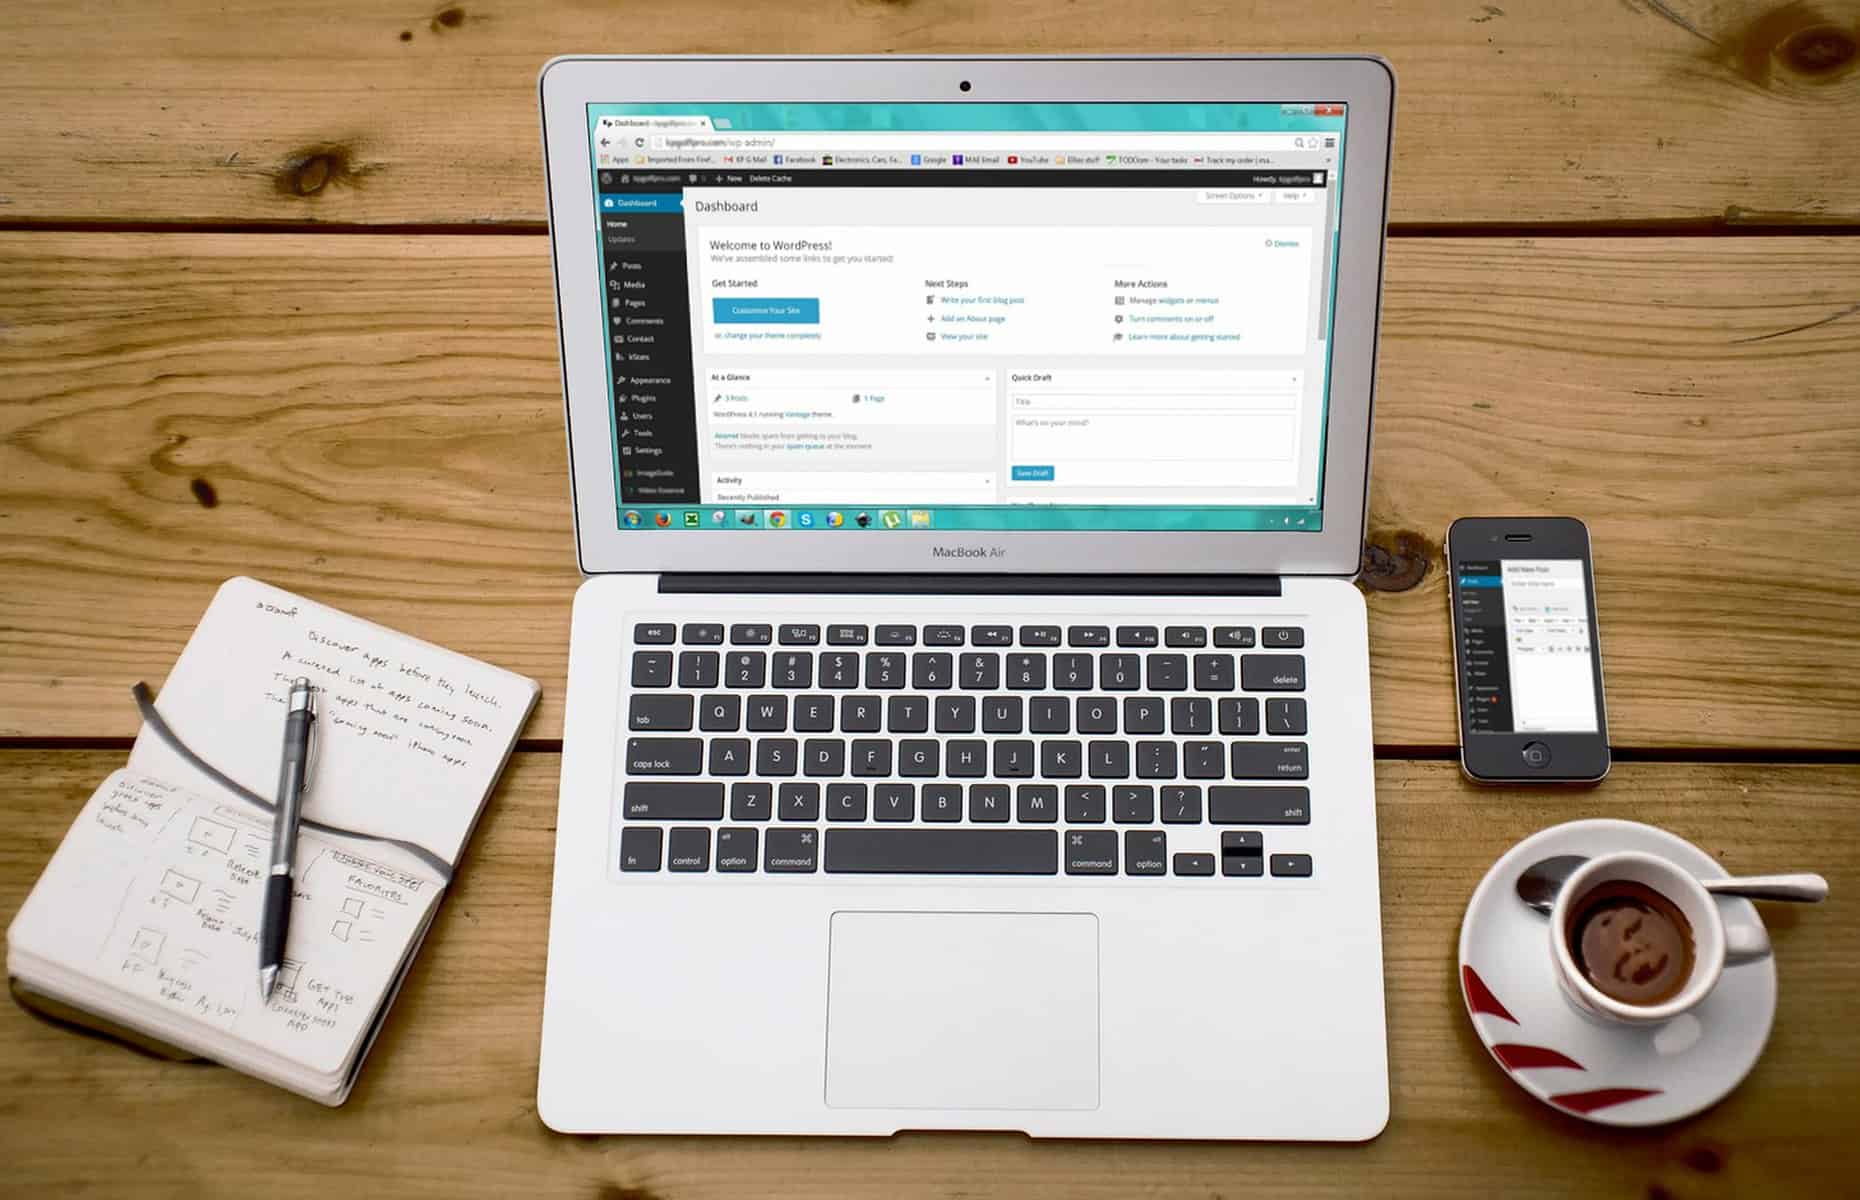

There are two ways to install WordPress i.e., 1-click installation and Manual installation. Most people find the former quick and straightforward. This is because many hosts offer 1-click installation of WordPress, and so it shouldn’t be an issue.
4. Add plug-ins and theme
WordPress has many plug-ins (explains why it is preferred) you can use to extend functionality. You have a lot of options here, but be careful not to install several plug-ins at once. Some of the plug-ins you could start with are Yoast SEO and BackWPup.
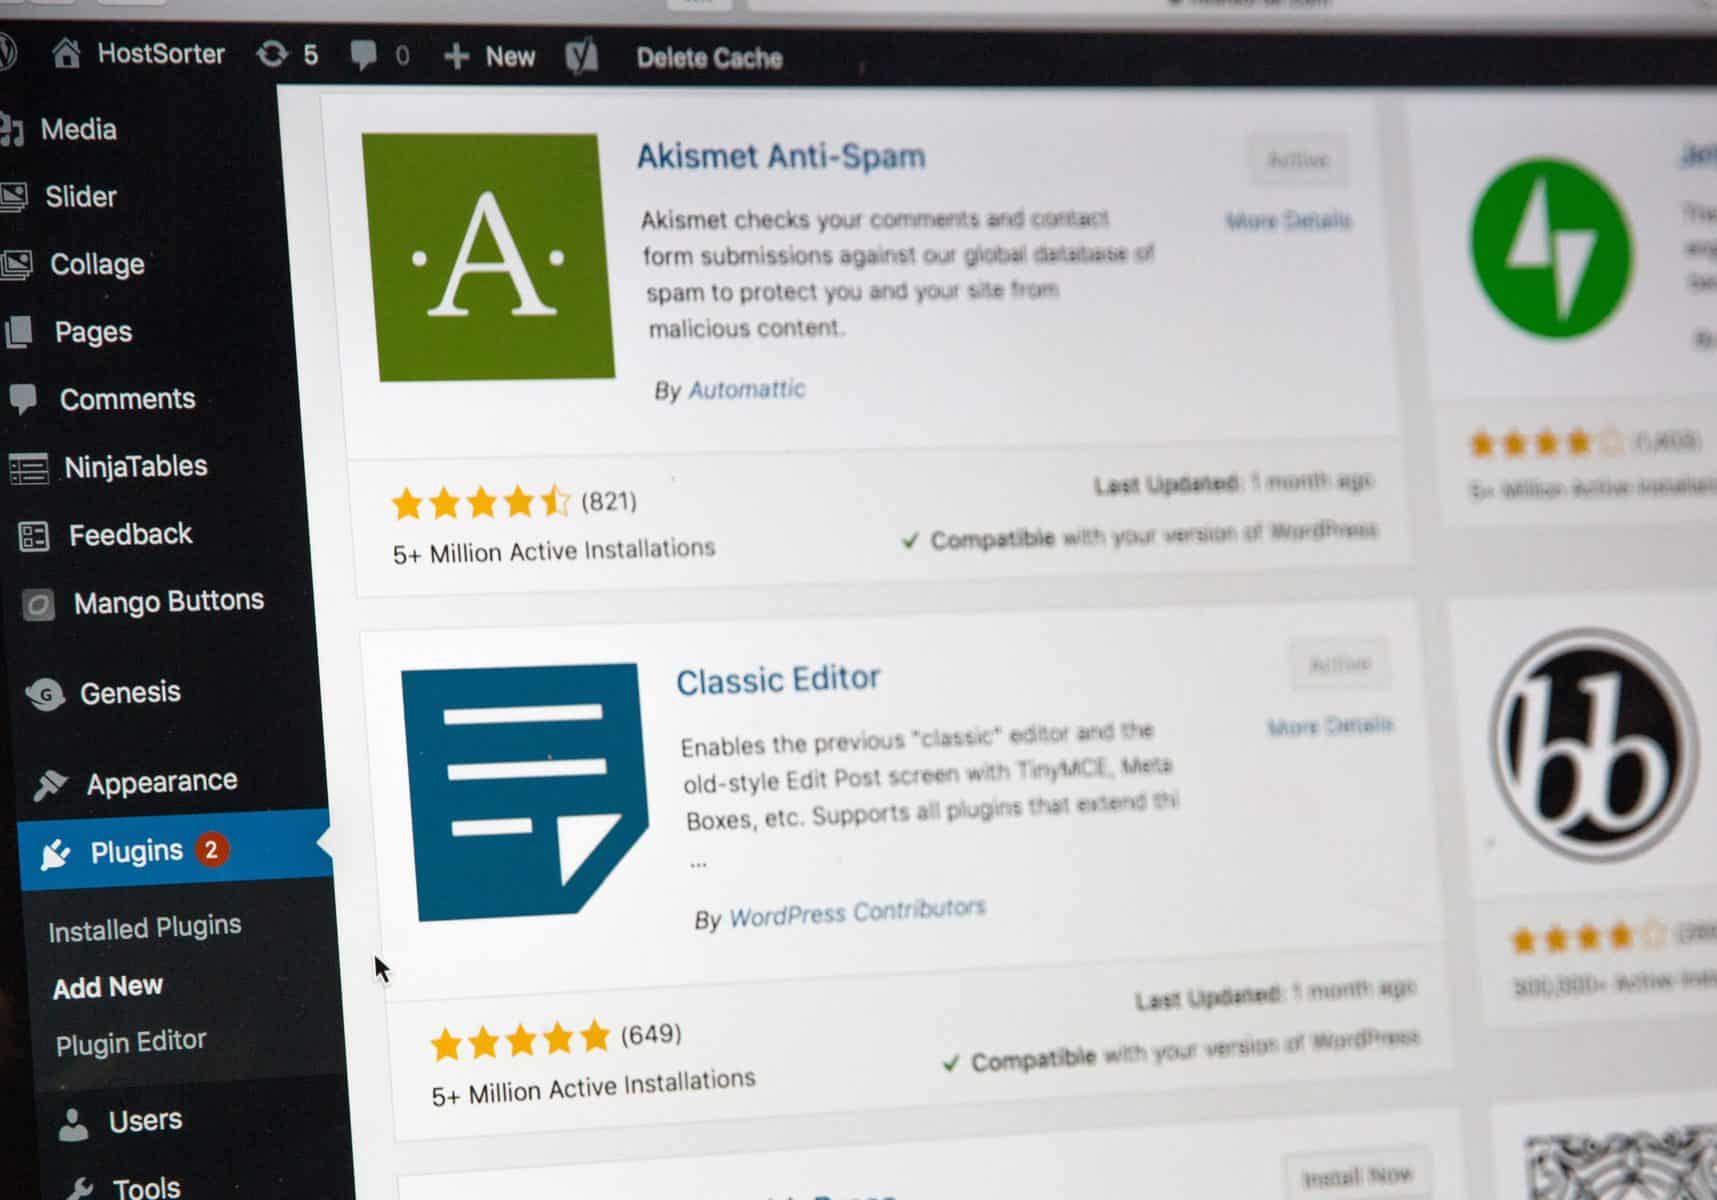

You’ll add the rest later when you need to. Similarly, there are many themes, some free, others premium. Browse through the theme directory and choose one that fits your website.
5. Change the default permalink
WordPress comes with a permalink structure, although it is not suited for Search Engine Optimization. This being the case, you’ll probably want to change it. Find the option to change it under Permalinks on the Settings menu.
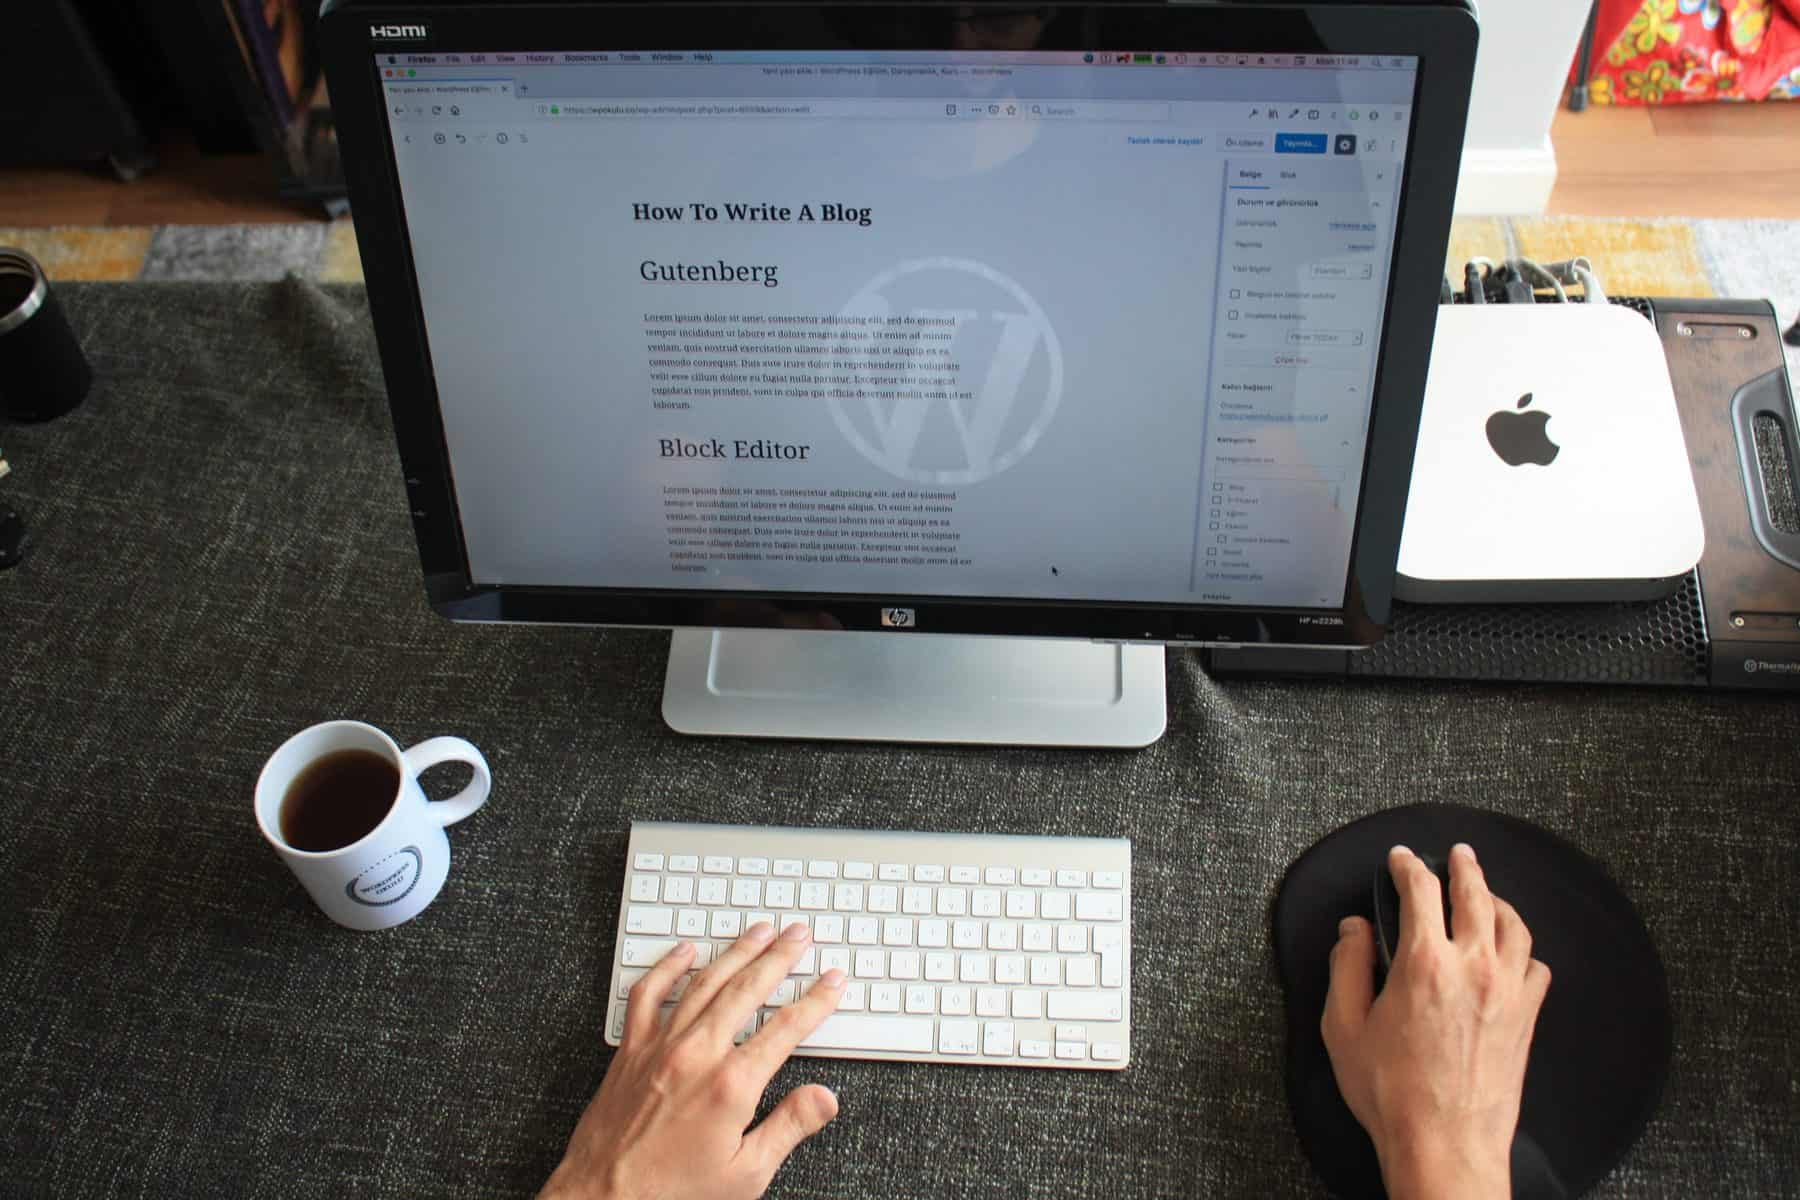
6. Time to introduce content
Now that everything from the top is set, you can start adding pages to your site. WordPress gives you an option to upload files and create new pages. Start with the main pages such as about page, product page, contact page, and the blog page. Note that these are just examples, and your site might have different needs.

7. Set the blog page
On the blog page you created, start adding blogs that will be read by visitors to your site. Once again, it doesn’t necessarily have to be a blog. It could be news or updates depending on the nature and type of content your site deals with.
You might also want to come up with a menu to make navigation easier for your website visitors. From there, you can update your site with more posts.