
The importance of web design is well known to everyone who uses the internet, whether as a content creator, platform user, or just a visitor. The easier the navigation, the better the site! Everybody can agree on that.
It is not an easy job to create and design a website. Problems often occur when you are not sure how to improve the website you created. Sometimes you just don't have any good ideas or lack time to do everything you know you probably should. Also, not knowing how to code sometimes might be a problem if you want to add something new to your website in order to engage your visitors and make them want to check out more content on your website. But, you can find a solution.
For example, if you want to add a sticky element to your site. It will not only improve the quality of your site, but you can also use it to make your web design way better. And no, you don't always need to find someone who can do that for you. With a little bit of help from this article, you can learn several ways to add sticky elements all by yourself in a few easy steps.
Doing it yourself can save you some time and money, which is great if you just started your own business or if you simply don't want to waste a lot of money on improving your website.
Adding a sticky header or a sticky menu to your website can make it way easier to use for your visitors. It's a great thing to do if you want to make navigation easier.
So, with that said, let's explain how sticky elements work and what you need to create them.
What are sticky elements, and why your site needs them?

- What is a sticky header? Also known as a fixed header, it is a header that sticks to the top of the screen as a visitor scrolls the pages of your site. It can be used to make sure your logo stays in view the whole time while a visitor is scrolling your pages. This helps build brand identity and raise brand awareness.
- What is a sticky menu? It is also called a fixed navigation menu or just a fixed menu, and it also sticks to the top of the screen as a visitor scrolls. A sticky menu contains the most important links your visitors need, which is great since some visitors find scrolling all the way up to the menu annoying.
- Do you really need a sticky header or menu on your site? That depends on the design of your site.
For example, if your site has some other frequently visited pages other than the homepage, you should probably have a sticky menu with links to those pages. A sticky menu would also be quite useful if your site has very long pages or a lot of content, so visitors don't have to scroll up and down too many times while checking out your content.
If you want to get users to sign up, creating a sticky header would certainly help you a lot. It would also be great to use it on every page where the search functionality is important. For example, if your site is an online store, you should probably have a sticky header or menu to organize things better and make customers stay on your site as well as buy something without complicating the whole process.


Plus, there are many more situations in which a sticky header or menu can be useful.
You can add a sticky menu or a sticky header to your WordPress site by writing code manually, or you can try using a WordPress plugin for the job. Coding might be a bit complicated if you don't know how to do it properly. So, if you don't know how to use code and want to save some time, it is much easier to use a plugin.
First, let's try to explain how you can use CSS code in order to add a sticky menu or header to your site.
If you want to manually add CSS code to your WordPress theme, you need to do the next steps:
- Log into your WordPress dashboard
- Go to Appearance and click Customize
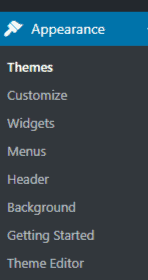

- Then click Additional CSS
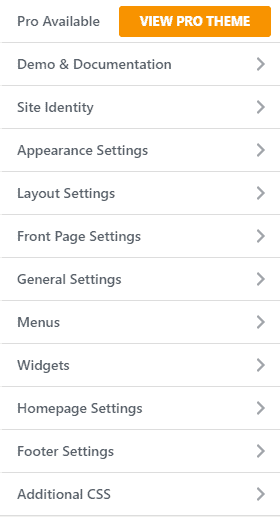

- Add the CSS code, for example:
div.sticky {

position: -webkit-sticky; /* Safari */

position: sticky;

top: 0;

}
- Click the blue Publish button
- Refresh your website to see your sticky menu
If you find using code way too complicated and don't know how to make it work, I suggest using WordPress plugins, such as Elementor or WP Sticky. Both of them require no coding, and you don't need to be an experienced user to know how to utilize them. Elementor allows you to create an, you guessed it, Elementor sticky menu without using JavaScript or CSS. And with the use of WP Sticky, you can simplify the process since the plugin is straightforward to use, and you don't need any prior technical knowledge to understand how it works.
The WP Sticky plugin

You don't need prior experience in coding, so it's safe to say that everyone can use this plugin.
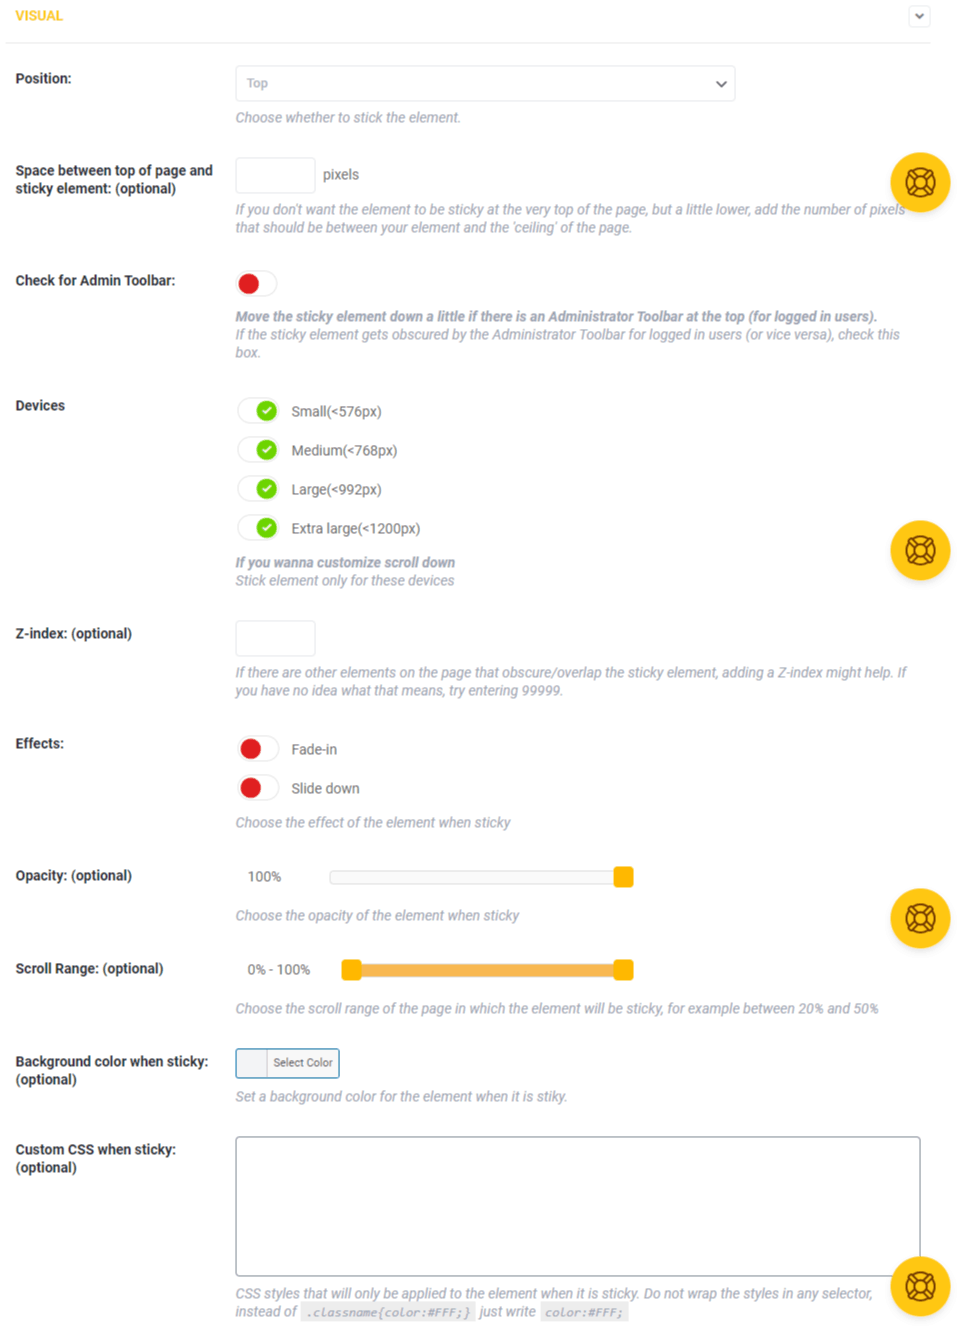
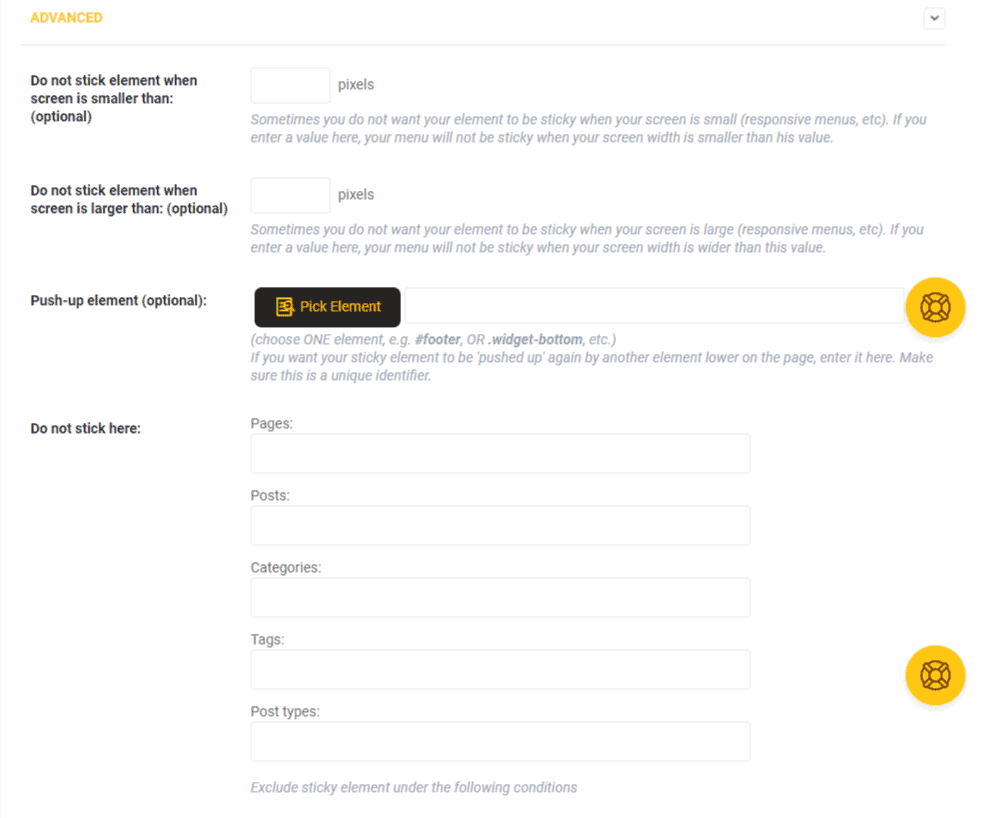
After you pick the elements you want to make sticky, you can easily customize the way they show up on different devices. Why is that necessary? Well, if your site has a large sticky header, that might cause a problem for mobile device users. But that problem can be quickly solved just by using the option that makes sure the sticky header does not appear when your site is viewed on mobile devices.
You can still have the header be sticky when your site is viewed on larger screens. You can also make your sticky element slide down or fade in, and you can define in which places the element shouldn't be shown as sticky.
How to create a sticky menu & header using WP Sticky?
It's quite simple. You just need to follow a couple of easy steps. No coding, and no need to waste too much time on creating and customize the element.
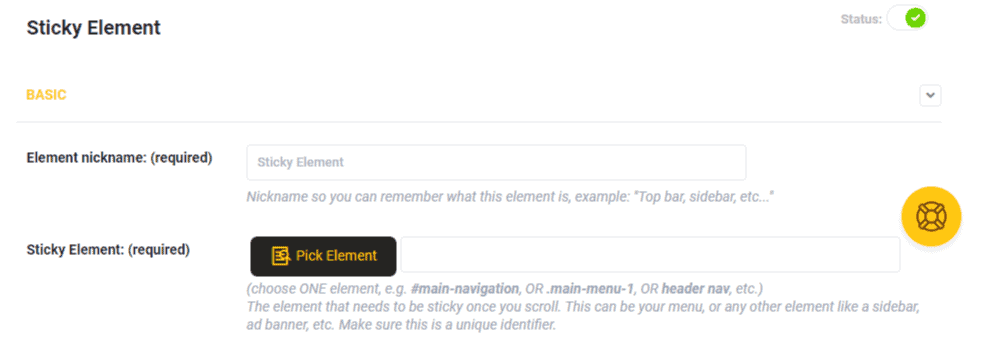
After you install and activate your copy of the WP Sticky Pro plugin, you are ready to create your sticky element.
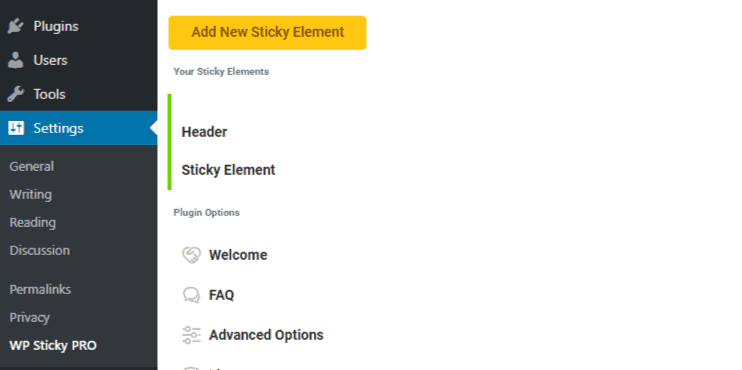
First, go to Settings and find WP Sticky Pro. In the upper-left corner, you can click on the Add New Sticky Element button.


Conclusion
When creating a website, it is certainly important to make sure that your visitors can easily find what they are looking for. When you use a sticky menu or header, visitors can easily navigate through your sites' content, and you can maintain consistency within your website design.
As we mentioned earlier, there are various methods of creating sticky menus and headers, as well as many other sticky elements. The good thing is that you can choose how you want to do it. Not everyone knows how to use code to create a sticky element, so it is good that you have plugins on disposal that can do it for you. You just need to put some effort into managing the plugin settings, and you are done.
There are several plugins you can choose from. Elementor has some great tools that could help you with creating your sticky elements easily while letting you be creative and adjust the design. But, you might want to consider using WP Sticky instead since it has a really simple interface, and it is super easy to use.

When using WP Sticky, you don't have to worry if your sticky element will look good on every device because you can easily choose the right settings for that.
If you can't decide on getting this plugin just yet, you can always check out its official site to learn a bit more about how it works and why it would be the best option for you. Good luck!