
Rome wasn't built in a day, and neither are websites. Well, some are, but there always has to be a placeholder for the period when the behind-the-scenes development and design is preparing for its majestic launch.
The Internet is flooded with tutorials on how to create a WordPress website, how to customize your WordPress theme, or how to pimp your WP site with an arsenal of plugins and widgets.
But, when you think about it, it's not so well-explained what should happen when you do all these things. Are you supposed to let your visitors roam around freely and interact with your website as it's being developed or tested?
Well, preferably not.
What is a Staging Site?
A Staging Site is an answer to this issue. Basically, a staging site is a clone of your actual live website. Instead of making changes to your website on-the-go and shocking your visitors who were on your site at the wrong time (oh my! what's this HTML snippet doing here?!-types of situations), you actually test out the changes on this replica website. WordPress support companies like FixRunner uses staging to debug issues and test changes before they make any changes on the live website.
What are the Functions of a Staging Site?
If you're in charge of testing and developing a particular WordPress site, a staging site can save you a lot of trouble and prevent possible issues that happen to users who modify real sites.


Staging Site Benefits
- easy testing and development
- better performance and responsiveness – better website
- bug-catching in a safe environment
- simple set up process
- ability to work online or locally
Staging Site Drawbacks
- web hosting providers usually charge for 1-click staging site development
- staging sites may not be identical replicas to the actual live version of the website
As you can see, using staging sites for testing and development purposes definitely outweighs the drawbacks. Even if we take into consideration the fact that staging is usually charged, there are also many options in which you can do it for free. Take a look at a general intro on how to do this:
How to Create a Staging Site Step-by-Step
There are multiple ways in which you can easily create a staging site for your WordPress environment. We will show you a step-by-step guide on how each one works, and you decide which one you want to go with:
- Manually creating a staging site
- Creating a staging site using a plugin
- Creating a staging site via your hosting provider
Manually Creating a Staging Site
If you want to create a staging site the old-fashioned way and develop like our ancestors from the 2000s have, there's always the option to create a staging site manually. However, bear in mind that it's definitely not a piece of cake. Manually developing a staging site is for advanced users, and it will deem your current live version unavailable while you're uploading the changes from staging to the server. Simply put, if you're looking for an easy way to create a staging site, this should be your last option. Still, if you are using a plugin, you can make it simpler for yourself.

- Visit your hosting provider dashboard and create a subdomain for your website. (For example staging.themecircle.net)
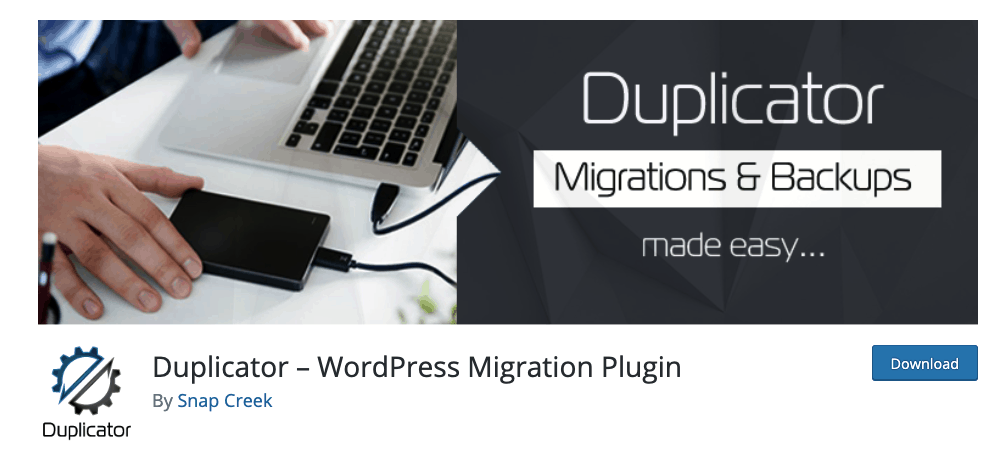
- Install the Duplicator plugin on your live site and activate it.
- Run the duplication command in the Duplicator plugin and wait for it to give you a ‘ready to build' notification.
- After it's done duplicating your website, click on One-Click Download.
- Now, it's time to create databases for your staging website. To do this, click on MySQL databases in your hosting provider's dashboard.
- Create a new database and name it (for example, staging_db) and create a user and password for managing this database.
- Give this user access and admin privileges and save all changes.
- Visit your subdomain with the extension installer.php (for example, https://staging.themecircle.net/installer.php)
- This will launch the Duplicator installer. Here, go through the four steps: deploy archive, install the database, update data, and edit privacy.
- You can now start editing your staging site without it affecting your actual website.
Creating a Staging Site using a Plugin
If the previous step-by-step guide has given you a headache, don't worry – there are much easier ways to develop a staging site. Just like all things related to WordPress, especially development, there are plugins out there to make your life a whole lot easier.
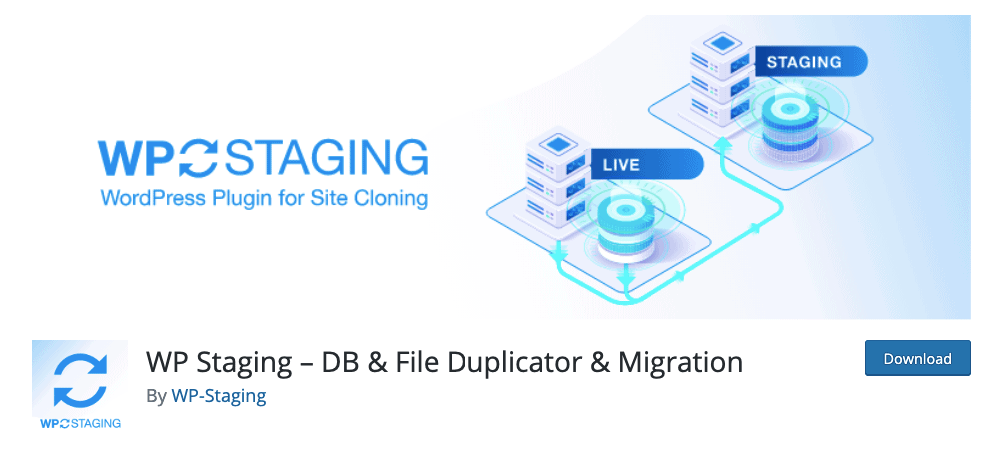
One of the main resources for creating a staging site using a plugin is definitely the WP Staging – DB & File Duplication & Migration plugin. This is the most widely-used plugin for this purpose, and it has over 40,000 active installations.

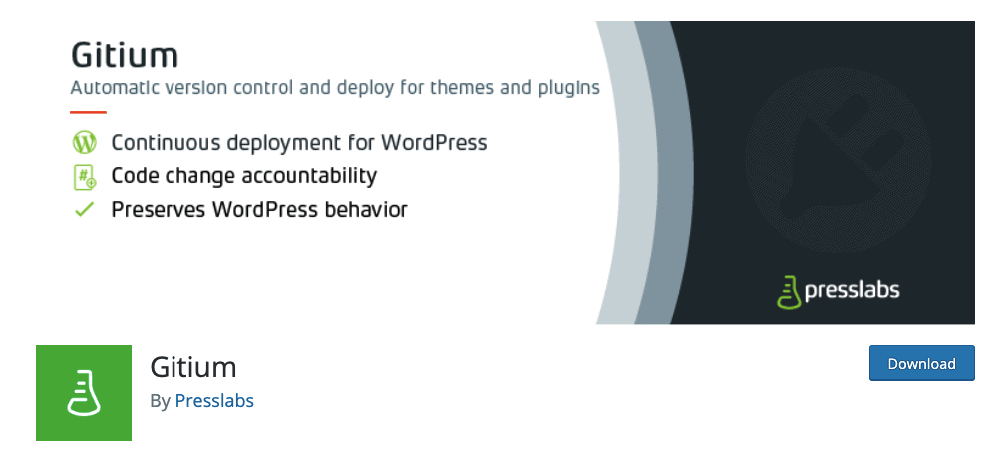

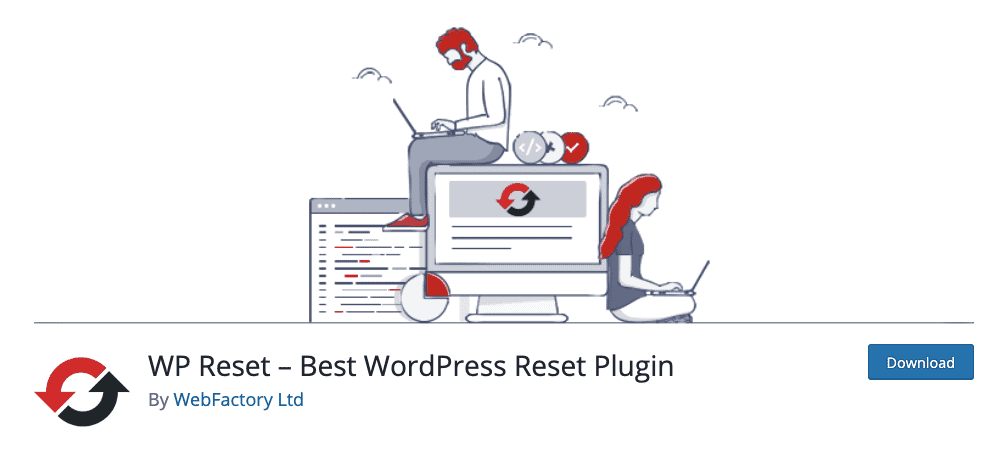
Gitium is another reliable plugin that allows you to work on a clone site in the background while your actual website is still up and running. It allows you to test and play around with features and plugins in a safe environment, without the risk of wrecking your site beyond repair. It also has a nifty Restore Point option where you can choose to go back to a previous version of your site if you know when things went downhill. If you actually want a completely fresh start and delete all the customization and content of your WordPress site, you can use the WP Reset plugin.

Coming Soon Page
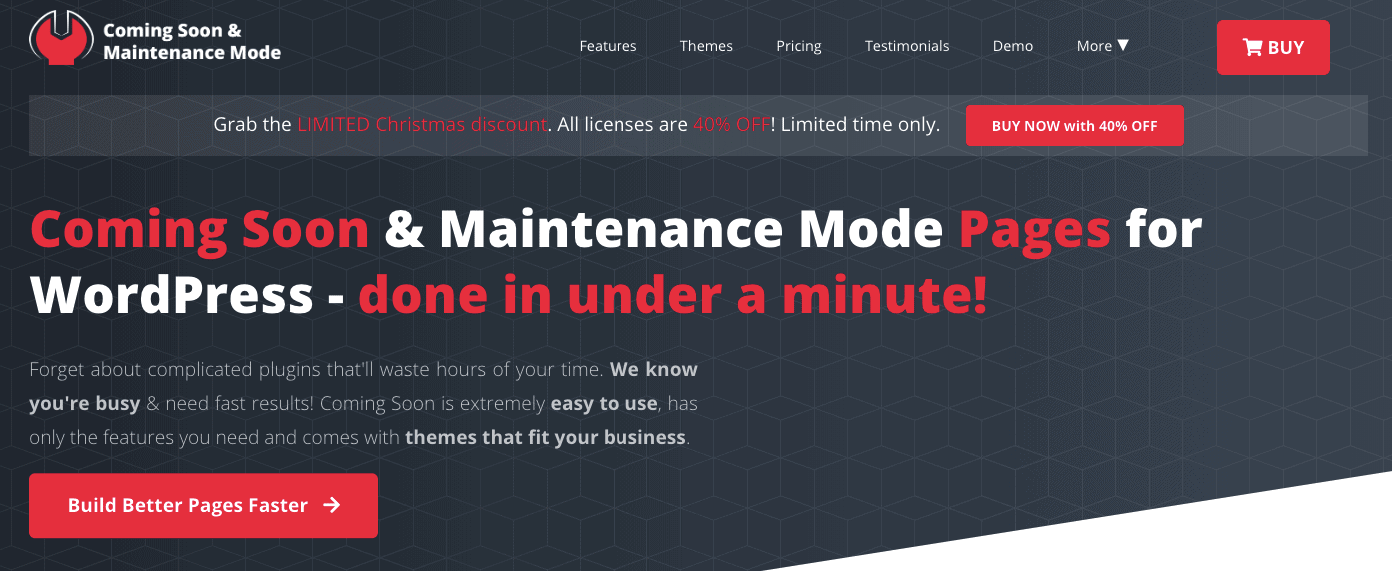

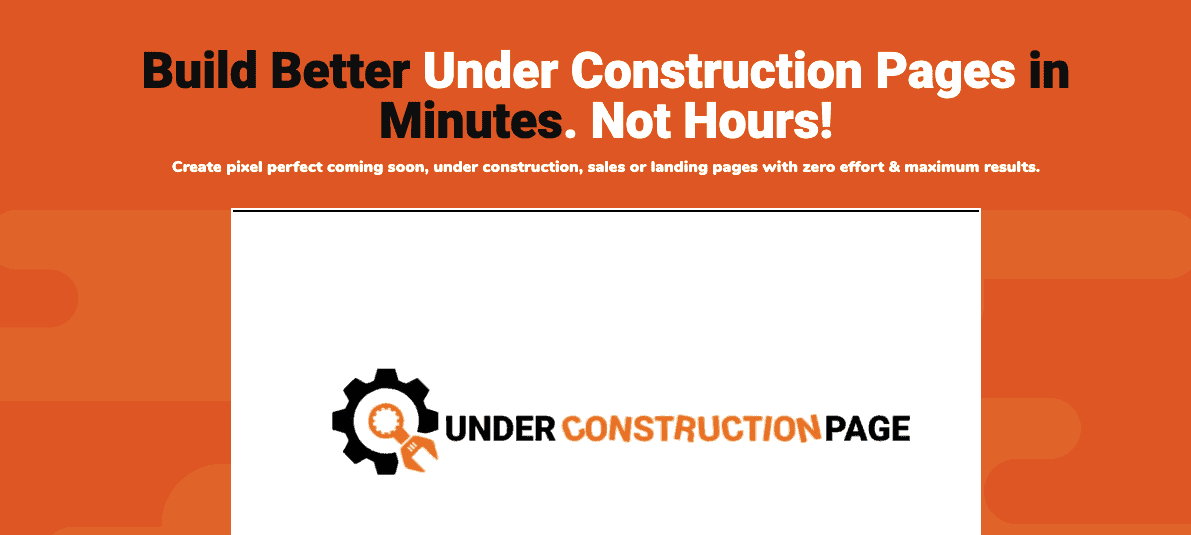
While you're working on your website, you can also let your visitors know that you're testing or developing your site. Some of the plugins that help you put up a Coming Soon or an Under Maintenance page are Coming Soon and Maintenance Mode plugin and the UnderConstructionPage plugin. Whenever you feel like you're happy with everything you have been working on, simply switch from your Coming Soon page to your actual live page after you've migrated.

Creating a Staging Site via Your Hosting Provider
Generally, WordPress hosting providers offer plenty of amazing perks in order to set apart from the tough competition. Next to flaunting their pricing, support, and basic user features, they are also targeting WordPress developers who are looking for the best of the best.
Many hosting providers have recognized the need to allow their users to create a staging site. When your hosting provider is giving you a clear path to do this, the whole process becomes much easier, faster, and more efficient.
WordPress hosting providers usually provide a ‘1-click staging site' perk that allows you to create a staging site in a matter of seconds, making it the absolutely fastest way to create a staging site.
However, it's not necessarily the most cost-efficient, because in most cases, you will have to sign up for a higher-value plan. Here are the best hosting providers that include the option of creating a staging site:
Hosting Providers That Include a Staging Site
BlueHost
BlueHost is generally a very developer-friendly hosting provider, so it's no wonder that it offers the option to create a staging site as well easily.
As a WordPress hosting provider, the BlueHost icon will appear in your admin dashboard. When you enter to see the subcategories, you will find the Staging feature after Home, Marketplace, and Performance.
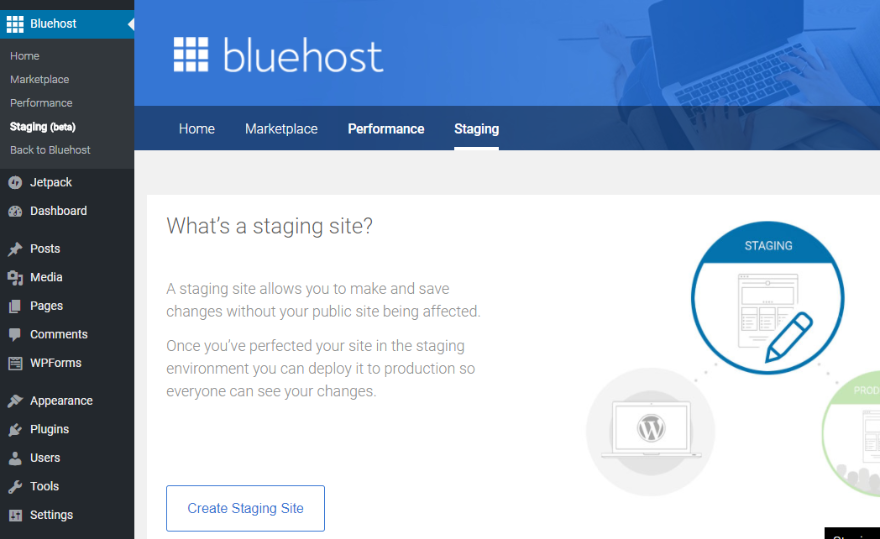

You've guessed it – in order to start creating your staging site, click on ‘Create Staging Site.'
Believe it or not, that's it. That's why it's called a 1-click staging site installation. After it's done, click on ‘Go to Staging Site' in order to start customizing it.
When you are ready to deploy all the changes you have made on your staging site, visit BlueHost admin – Staging – Deployment.
You will have three options: Deploy Files Only, Deploy Database Only, Deploy Files + Database. Then, simply confirm by clicking ‘Yes, Let's Deploy', and your once staging site will now be the live version of your website!
A2 Hosting
A2 Hosting is another WP hosting provider that offers a one-click staging site installation.
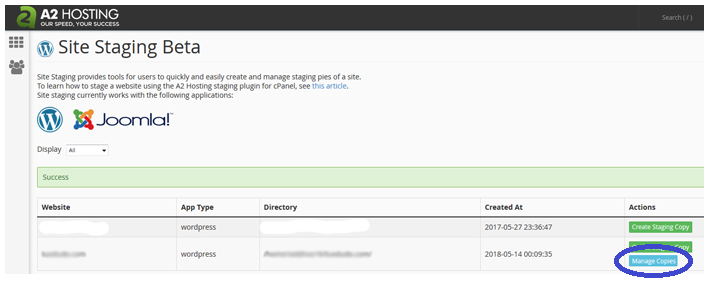

In order to start, visit your A2 Hosting admin dashboard and go to the ‘Site Staging' section (still in beta).
There, you will see a list of your WordPress websites managed by A2. Click on ‘Create Staging Copy' on the right side. After it's done, you will see a blue button titles ‘Manage Copies', where you will be able to edit your staging site.
Here, you will also find the option to deploy your ‘copy' website to your actual website domain.
CloudWays
CloudWays provides one-click staging site creation for WordPress sites.

You can find the exact instructions on how to set up a staging site in your CloudWays admin area here.
How should I set up my staging site?
If you have read all the benefits and drawbacks of these staging site creation processes and you're still not sure which one to go with, here is a breakdown:
- Web hosting provider staging is the fastest and easiest, but it's charged
- Plugin staging is mostly free, but there aren't that many features
- Manual staging lets you do what you want for free, but it's quite complicated.
Overall
If you are just starting out, then a staging site is a must. Not only do you get to create a buzz in advance with a coming soon page, but you also get to develop and test in peace. After all, having your visitor see the work in progress is a thing you definitely want to avoid. With these tips, you will be able to create your staging site in a matter of minutes, without too much struggle.
Which method will be your choice? Let us know in the comments below!