
Action buttons are really popular these days and probably every site that sells a product or a service has one. However, they must be done well in order not to overwhelm your visitors with too many notifications.
As we all know users are now bombarded every second with something so if you are adding a call to action button or a floating button, think before you create them.

Now, if we look at your business, there are several reasons why you would want to add a call to action button.
For example, if you want to boost conversions, you need to provide your visitors with clear action. It needs to be obvious and precise in what you want your visitors to do with it and you need to make the button clearly visible.
On the other hand, if you want to improve the user experience, provide them with a call to action. In this case, add a phone number, email address, Facebook Messenger, or another app through which they can contact you and ask you what they want to know. This is probably the most important reason because user experience and customer service matter a lot.
What Are These Buttons?
These kinds of buttons are something that is very popular, and everyone is used to them by now. They are noticeable and can effectively redirect users’ attention to the desired action. You can use them for anything, from signing up, downloading, buying, or going to a new page, such as a product page, services page, or you can even let them call you if needed.
Lately, a lot of attention has been given to floating buttons. Why?
Well, since your customers want a pleasant user experience, good quality, and reliable content, floating calls to action can come in quite handy.
They are user-directed and not as intruding as many other pop-ups that are used almost everywhere. Also, they are not blocked by adblockers like many pop-ups are. You can often see them in the form of a live chat icon in the right bottom corner of many sites.
In addition to that, they help you avoid creating cluttered and messy sites and pages because they can be displayed anywhere on your site and can be designed in a specific way so they are not too chaotic. This helps prevent user fatigue and poor user engagement. All in all, they are probably something you need.
Maybe the best thing about them is that you don’t need to hire a professional web designer or learn how to create such buttons. Instead, there are plugins that can make the job a whole lot easier for you.
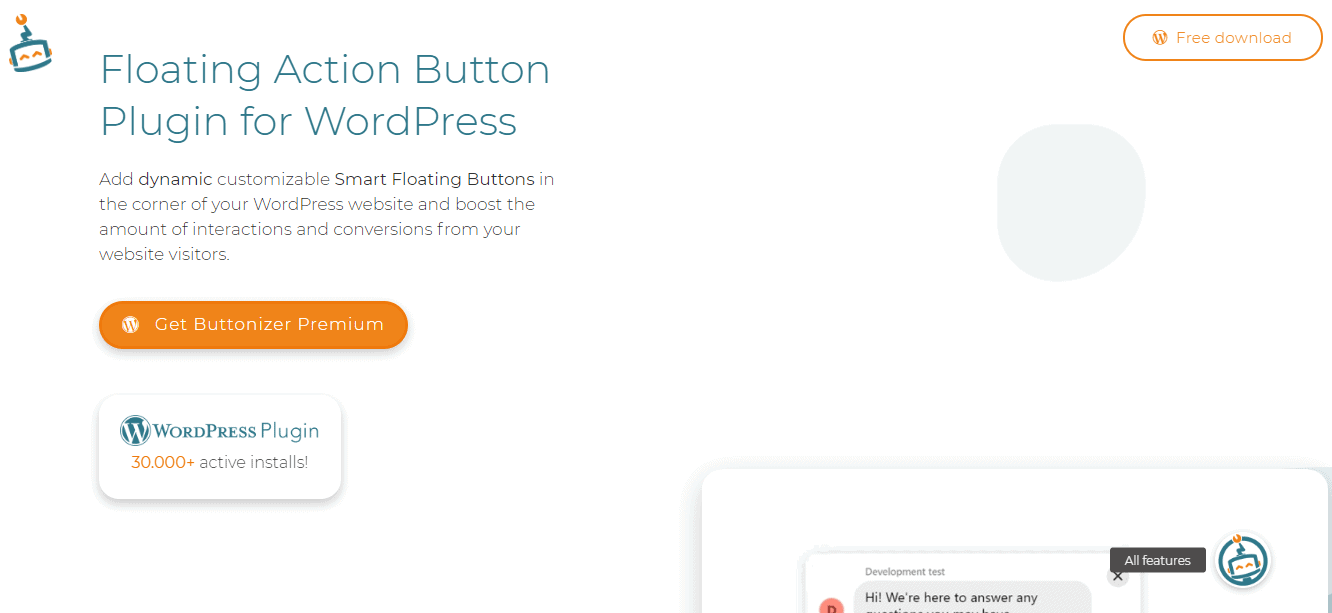

A plugin of that sort is Buttonizer pro. This freemium WordPress plugin lets you add different types of floating buttons, each with different features that can be set up in the dashboard.
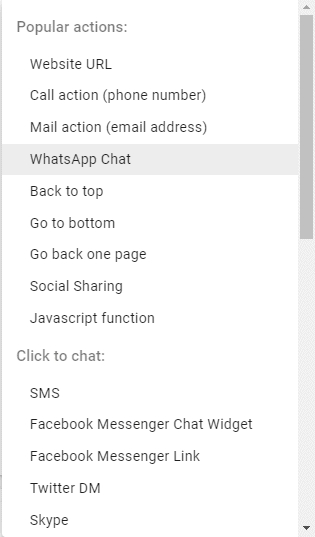
Some of the button types available include website URL, phone number (so people can call you directly), back to the top button, social share, and go back one page buttons. Also, if you have Google Analytics, there is the event tracking button in the free version.
The Pro version additionally has page categories and rules which allow you to target your actions to a specific type of content your users and visitors view (welcome page, a specific blog post, or shopping cart), device targeting (be careful about this so you don’t show a phone call button to a desktop user), page-level targeting (adding specific buttons or icons if a viewer is on a product page looking at prices), and behavior targeting so you target people based on their specific behavior (visiting your product page or contact us page).
There are even options you can use for opening hours (hiding buttons if you are not working) and the possibility to add custom images and logos to add some personalization and professionalism to your site.
But, let’s back it up a bit. It being a floating button means that it is always present on your site, which is why it has that name. If clicked, it will expand and show a list or a drop-down menu with different options or features (better known as actions) your users can click on.
With the Butonizer plugin, you have more than 25 action options you can choose from and add to the button so your visitors can perform an action. These also include copy URL to the clipboard, print page, initiate JavaScript function, initiate a chat (via SMS, Facebook Messenger, WhatsApp, email, etc.), and many more.
Using it, you can also create two types of content, a button group, which is a collection of more than two buttons which when clicked displays a list of individual buttons, and a single button, which when clicked performs a single action.

How to Add Them?
As with any other plugin, you need to download and activate it first. Then, you are given a short tour and an introduction to what is placed where and to all the things you can set up. After that, you will be taken to a new interface, the Buttonizer interface.
The interface is great, and it is based on WordPress so you should have no trouble learning how to operate it. You will also have a real-time preview of how your site and buttons look like, so it is easy to design and customize while you are in the editing mode.
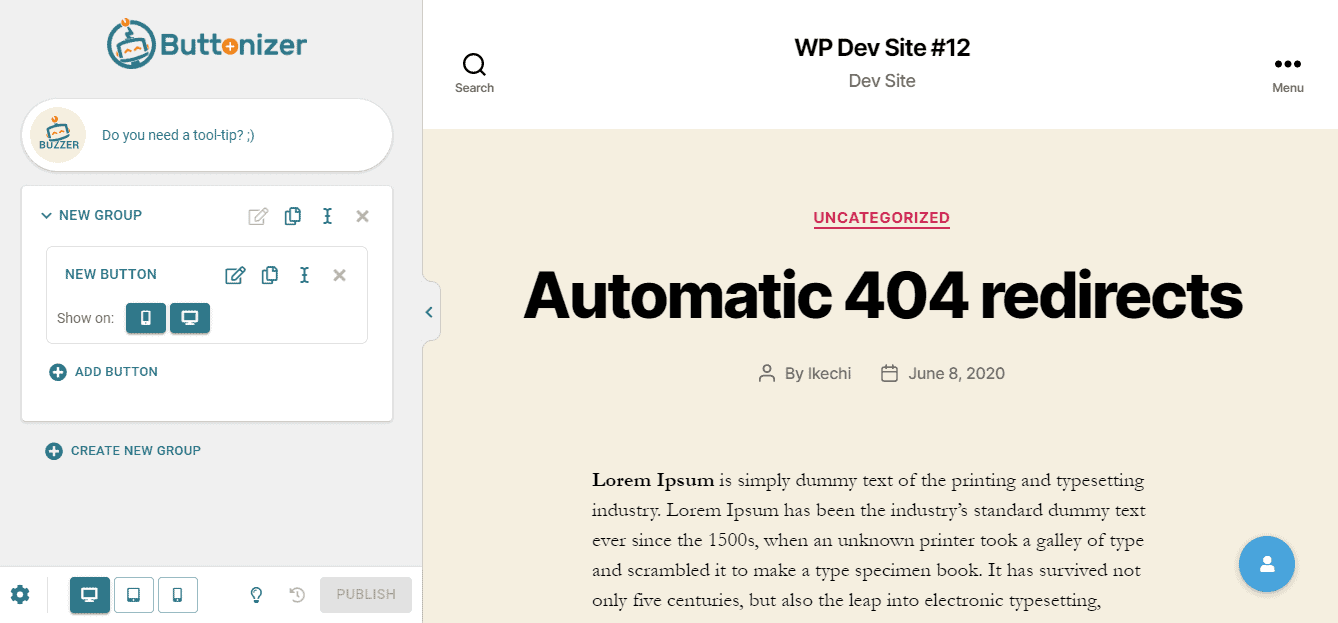

On the left-hand side of the interface will be the Buttonizer section. That section will by default show the option to add a new button group.
Also at the bottom of that section will be three buttons for three different types of previews (desktop, tablet, and mobile), a lightbulb representing the event tracker, a revert changes option, a publish button, and a gear icon.
If you click on the gear icon, you will be taken to the Buttonizer settings tab which contains the following:
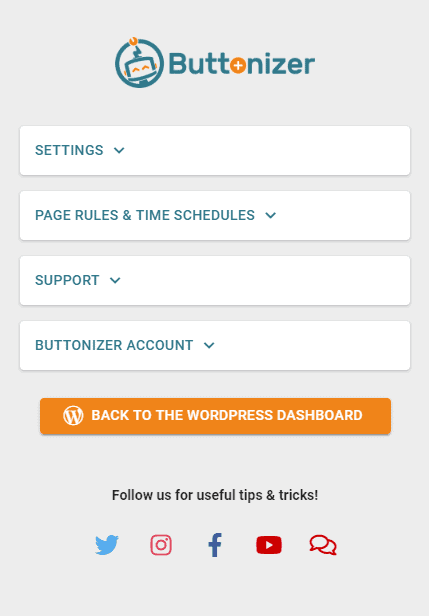

Here you will be able to customize your Buttonizer account, contact support, set up page rules and time schedules, configure settings related to Google Analytics, your icon library, your preferences as well as initiate a reset of the Buttonizer plugin.
Now, if we go back to the initial screen Buttonizer led us to, you will be able to see the options to create a new button group as well as add buttons within that group.
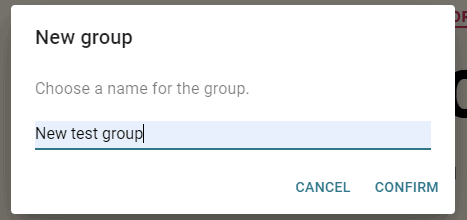
When the create new group option is clicked, you will be asked to name the group. Once named, a group can be duplicated, renamed, and deleted.

After creating a group, finally comes the process of adding the buttons. And just like the groups, buttons can also be duplicated, renamed, and deleted.
When a button is created you have three aspects you can modify regarding a button, those aspects being General, Style, and Advanced.
The General tab itself is divided into the following sections:
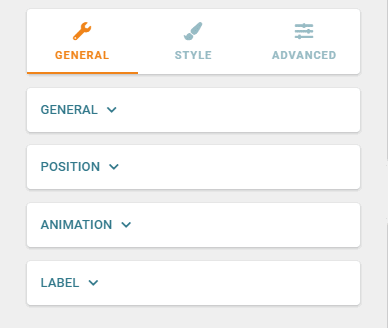


In the other sections of the General tab, you will have the liberty to define the position of a button, set up a label for it, and add an animation to it as well. Since these settings are all mostly for aesthetic purposes you can play around with them or leave them as they come by default. The only important thing is to choose an appropriate action for your button.
Next comes the Style tab. This tab is also divided into sections, as you can see in the image below.
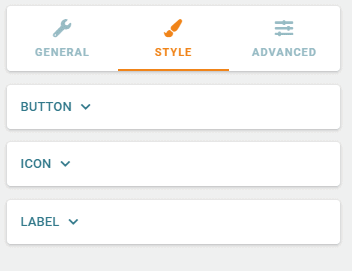

In the first section labeled Button, you can customize the button's overall appearance by changing its background, base color, interaction color, and border-radius. While in the Icon and Label sections you can select and customize an icon for the button and customize its label.
Last but definitely not least we have the Advanced tab which does in fact allow you to turn on some very advanced settings that are mostly available in the pro version.
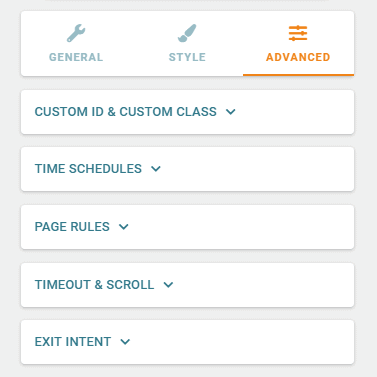

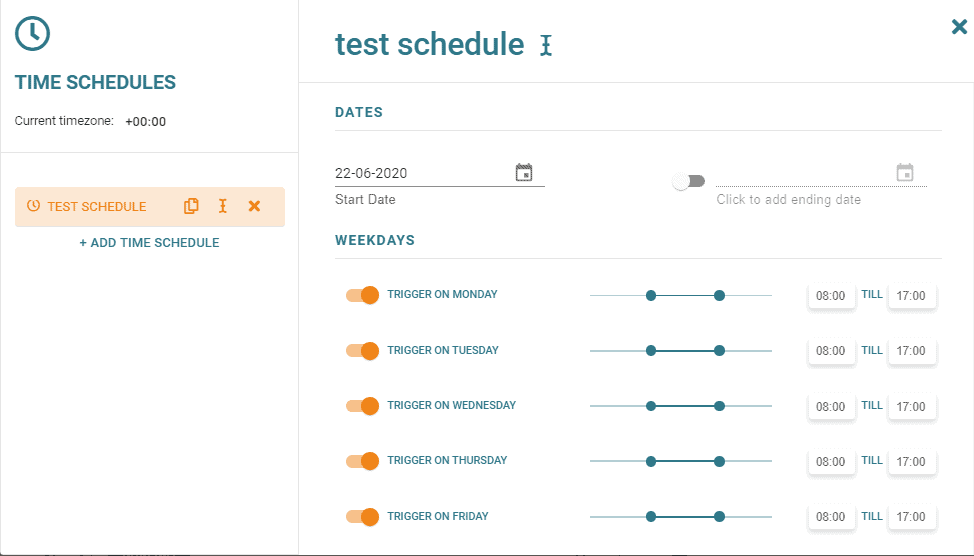
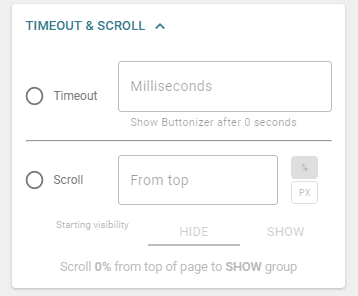
These settings let you target specific behaviors, specific pages, and specific timeframes. For example, you can set up your buttons to appear only if a visitor clicks on them during business hours. Meaning, you set up one button to appear during business hours and another to appear outside the business hours.

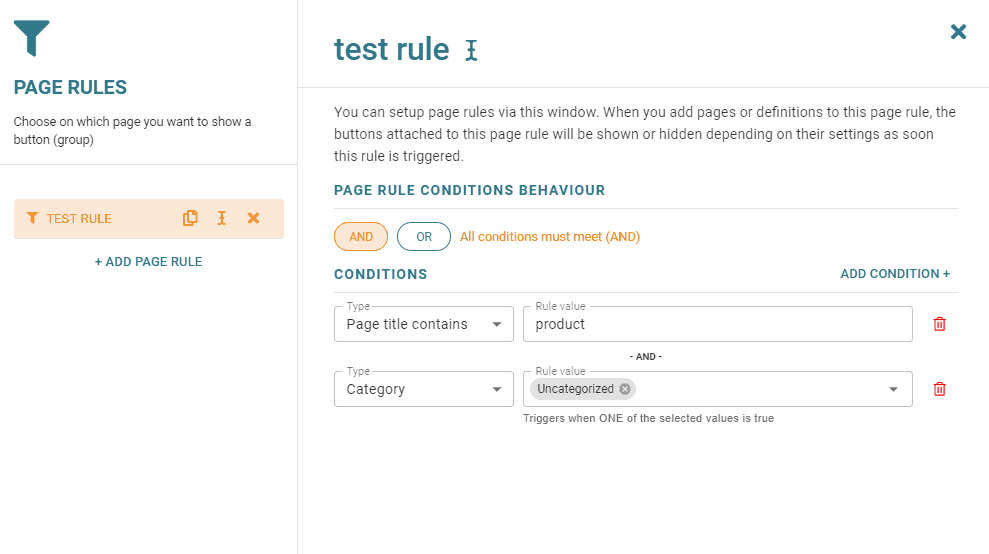
Then, you can set up page rules which will trigger your button only when certain conditions are met. For instance, if a page title contains a certain keyword and/or if the post the button is displayed on belongs to a specific category.


Remember, users are bombarded with a lot of annoying pop-ups all the time, so don’t be like most other businesses and give your customers that type of experience. Instead, provide something of value to them, make it user friendly, and carefully, but subtly provide them with other choices and options they can click on if they want to and if they are interested.
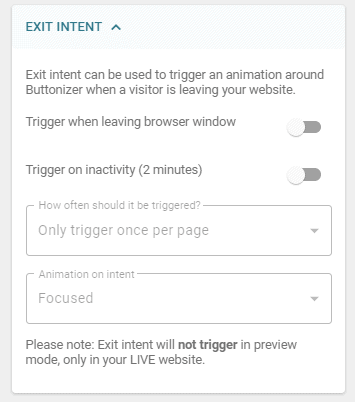
Finally, in the Advanced tab, we have the exit-intent section in which you can trigger an animation for the button in case the user is on his/her way to exit the page or has been inactive for 2 minutes.

It's important to note that once you add more than one button to a group you will then be able to customize the group as a whole and will have all the same settings tabs and almost all of the same sections within those tabs that you had when you were customizing individual buttons.
How It Looks Like to the User on the Front-end
So, once a user is on your site, how will your buttons appear?
When they first land on your page, your users will see the main floating action buttons, and once they click on them, they will display all the individual action buttons that you created within that group.
Floating buttons, as we mentioned before, are a bit more subtle and users seem to like them more. So, spend some time thinking about what you will add and how to ensure your users and visitors have a good time on your site.

Conclusion
As you can see, Buttonizer is a pretty versatile and flexible plugin. Using it, you can add so many actions and buttons, edit them, target specific users with them, and do so much more.
This plugin will make it easier for your users to contact you, as well as for you to promote your store, increase conversion, and drive social shares.
It will give you an almost unlimited number of activities you can add to your floating action buttons.
Also, you will be provided with options to add filters so buttons show up on a specific device or during a specific time. Plus numerous editing options through which you can choose a color or upload your own image for your buttons.
On top of all that, the plugin has specific triggers you can set up that are based on actions or behaviors of your users, such as scroll depth, time on site, and so on.
Lastly, if you use Google Analytics, you can integrate it with this plugin and it will automatically monitor and analyze your user activity so you can determine which buttons best fit your business and customers.
With that said, we hope this article helped you see the importance and all the possibilities of floating action buttons. We wish all the luck to you in creating them, and we hope to see you on our blog again soon!